Making Templates
 |
 |
 |
Making templates for struts, rigging lines and dihedral
In our build guides, we refer to using drill guide templates when drilling holes in the fuselage for cabane struts, or in the wings for interplane struts. Because Silver Wings kits have brass rods in the struts, they make ideal mounting points to provide a solid mounting point. However, it is important to drill the mounting holes at or near the correct angle to have a good fit.
Supplies needed:
- Silver Wings kit instructions
- Scale planes (actual scale is not important)
- Cardboard or foamcore board for the template
- Ruler
- Pencil or pen
- Scissors or knife
- Drill with appropriate sized bit (#66 (.033))
In order to make the template, we are simply going to transfer the angle of the strut to the piece of cardboard/foamcore.
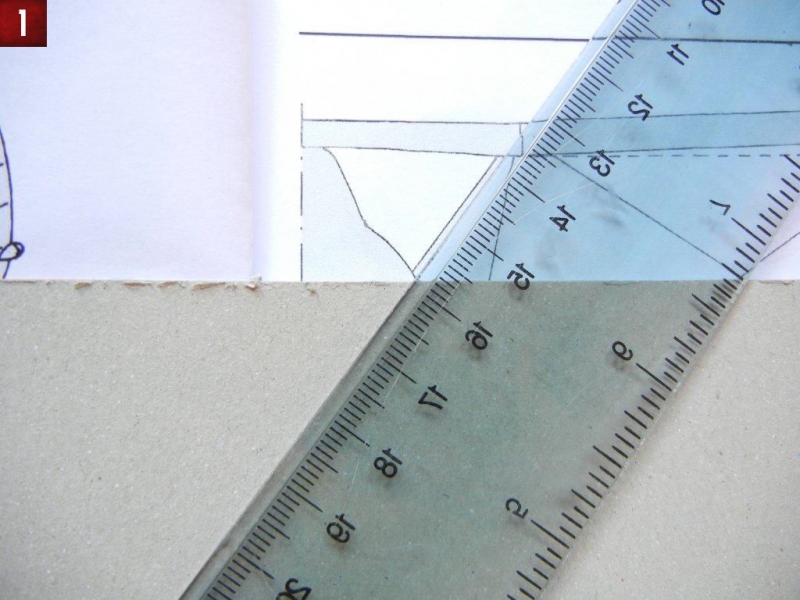
- In photo 1, we are using the Silver Wings Gladiator plans to transfer the angle of the Gloster Gladiator cabane strut to a piece of cardboard.
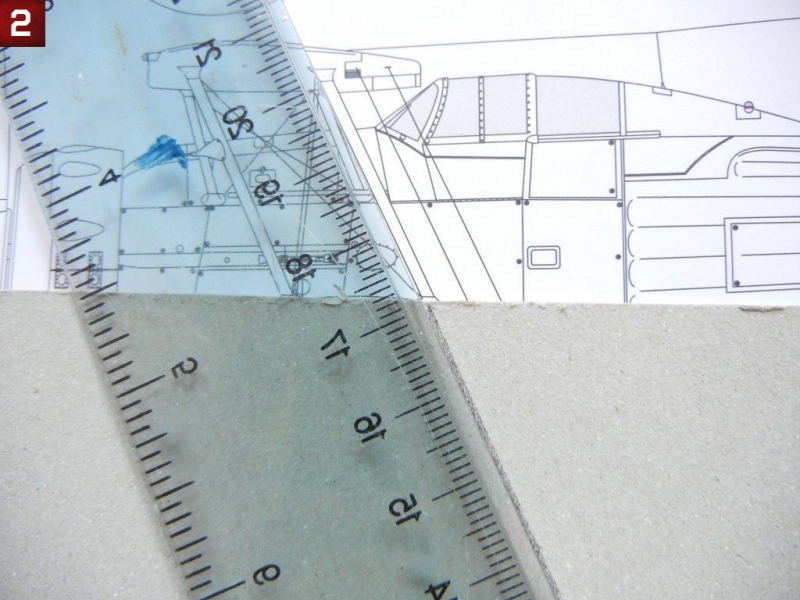
- In photo 2, we are using Gloster Gladiator scale planes to transfer the angle of the interplane struts forward rake to a piece of cardboard.
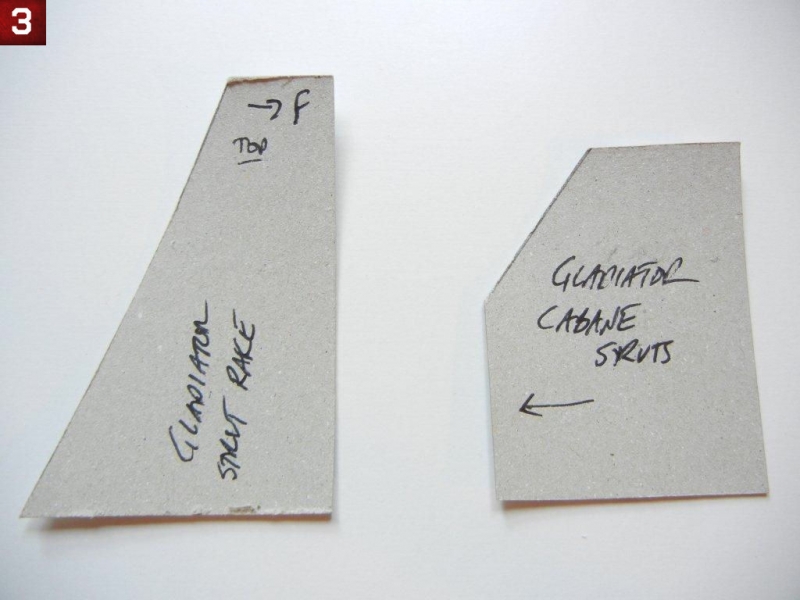
- Photo 3 shows the completed templates after they have been cut out. You may want to label your templates, including which side goes to the front to ensure proper use. :)
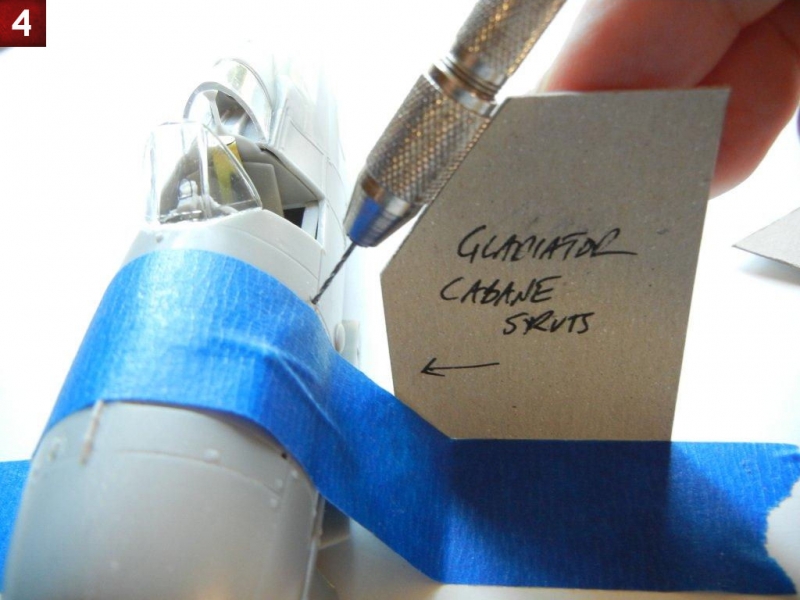
- Photo 4 shows the Gloster Gladiator cabane strut template being used to drill the cabane strut holes in the Gloster Gladiator fuselage.
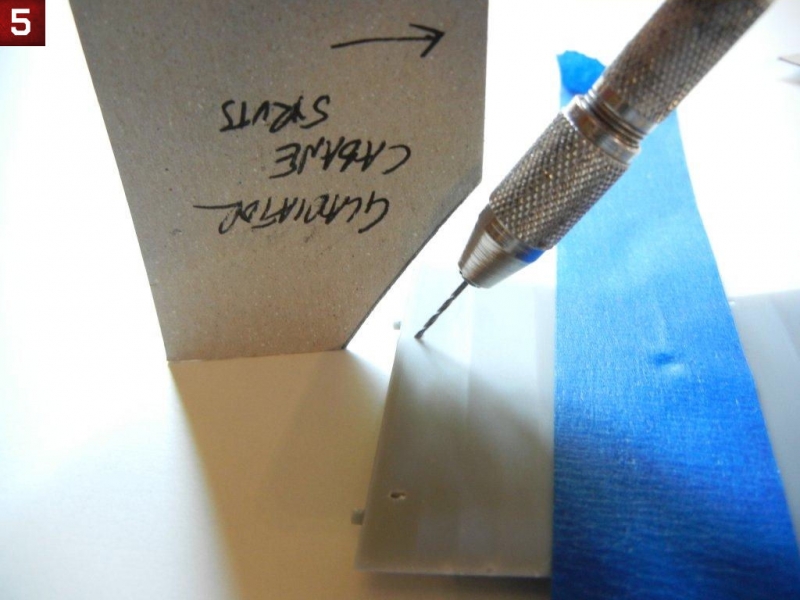
- Photo 5 shows the Gloster Gladiator cabane strut template being used to drill the cabane strut holes in the Gloster Gladiator upper wing center section (this is where the directional arrows are handy).
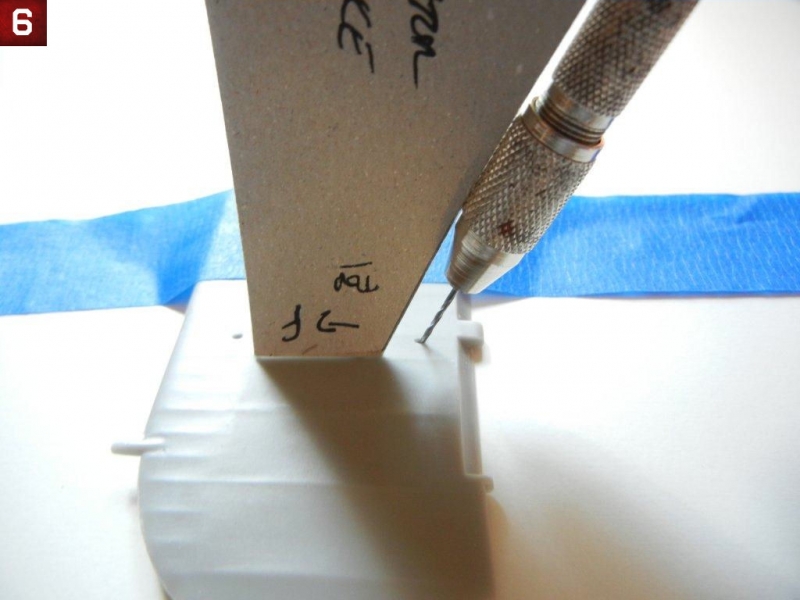
- Photo 6 shows the Gloster Gladiator interplane strut template being used to drill the interplane holes in the bottom of the Gloster Gladiator upper wing.
Note that you can use the same concept to create rigging templates to drill holes for your rigging.
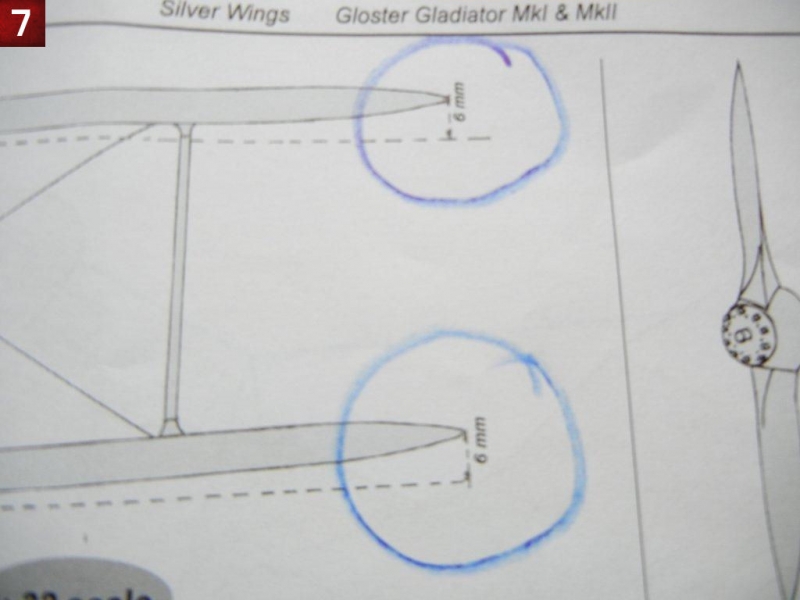
One benefit of Silver Wings instructions is that they provide a measurement of how far the wingtips should be from level to create the correct dihedral. This makes it easy to create a template from a strip of cardboard or foamcore to ensure the wings have the proper dihedral.
- Photo 7 shows the Silver Wings Gloster Gladiator instructions, which indicate that the Gloster Gladiator wingtips (both top and bottom) should be 6mm from level.
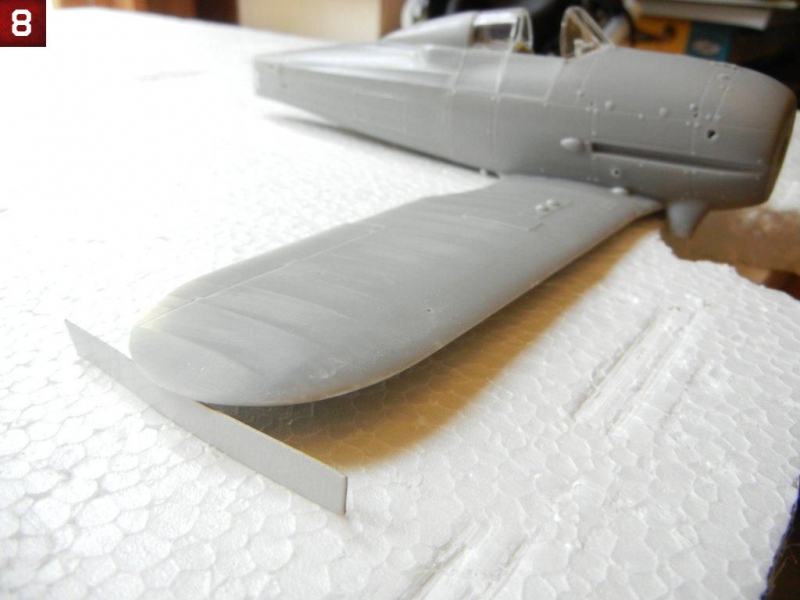
- Photo 8 shows the Gloster Gladiator wing being attached to the fuselage, with a 6mm cardboard strip being used to set the correct dihedral.
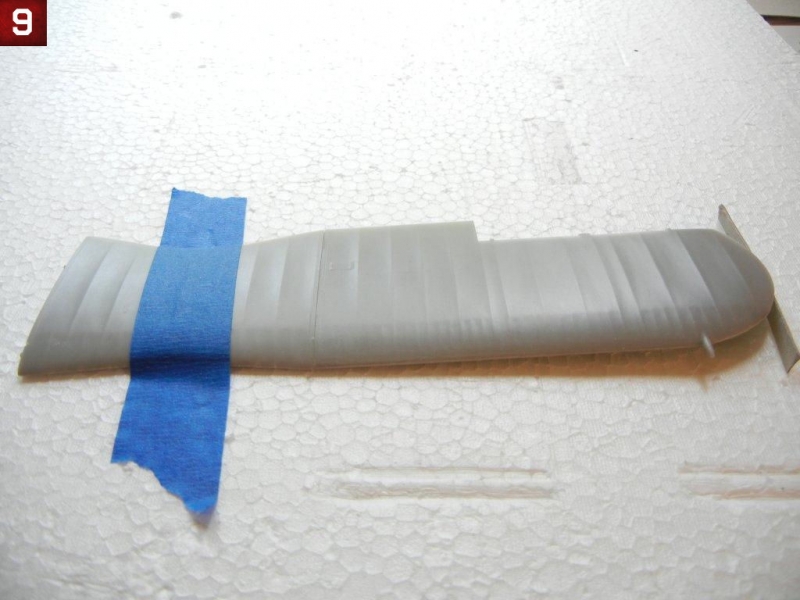
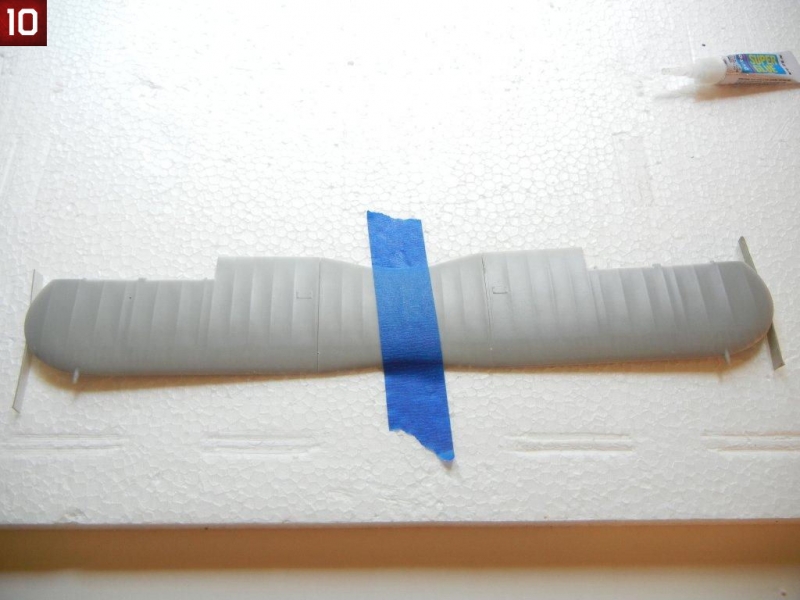
- Photo 9 shows the Gloster Gladiator upper wing center and port outer wing being joined, with the same 6mm strip being used to set the correct dihedral.
Doug Nelson
Gallery